Craftee / Template
Free photocard template, 55 × 85 mm.
An official photocard is 55 × 85 mm, and that number is the whole game: sleeves, toploaders and binder pages are cut to it. Nine free files sit below at exactly that size — print sheets, blank canvases, two frames, card backs and a bleed file.
Updated 8 November 2026 · free · no signup
3 PDFs · 3 PNGs · 3 SVGs — no account, no email, no watermark.
The files
Pick the one that matches what you are doing.
Print today
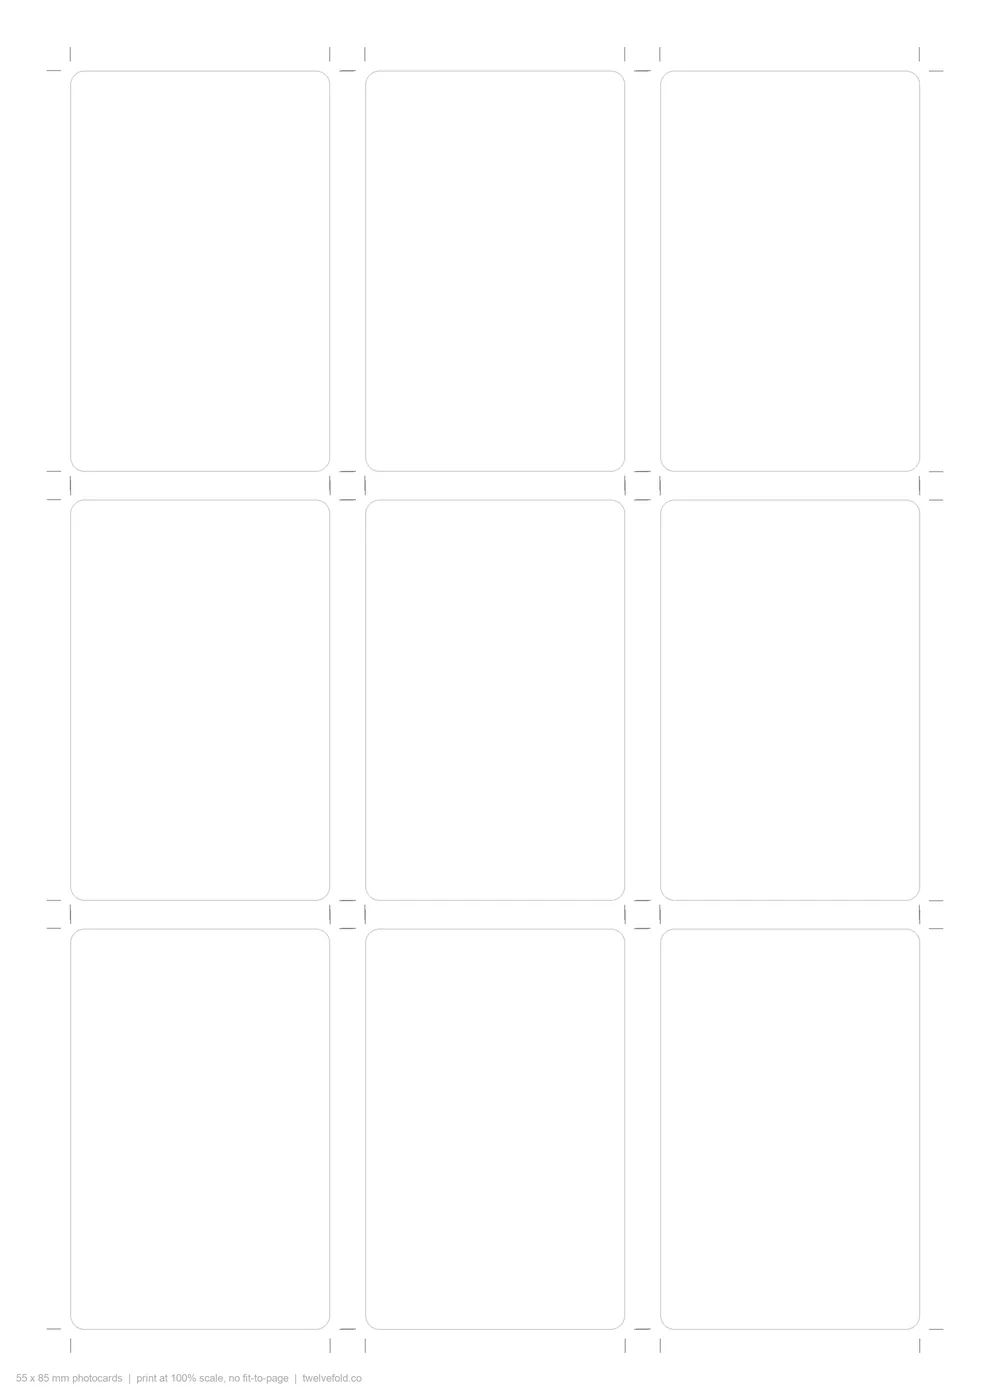
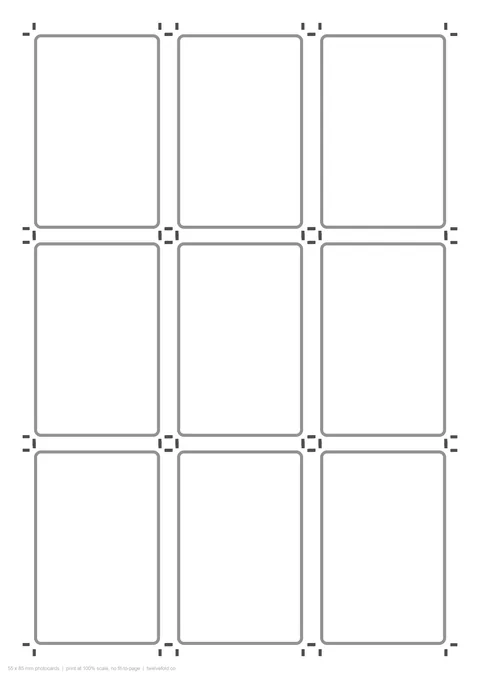
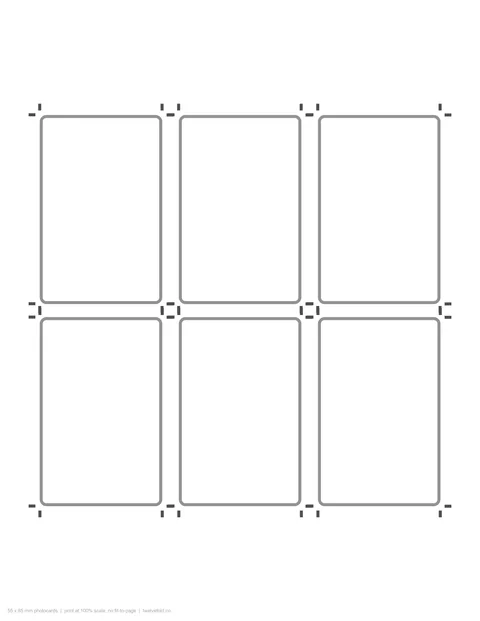
Sheets that print nine or six cards at once.
Pick the paper you actually have: A4 fits three rows of cards, US Letter fits two. Crop marks are already there, so the sheet only needs 100% scale and a trimmer.
Design it yourself
Blank canvases, and two frames that look designed.
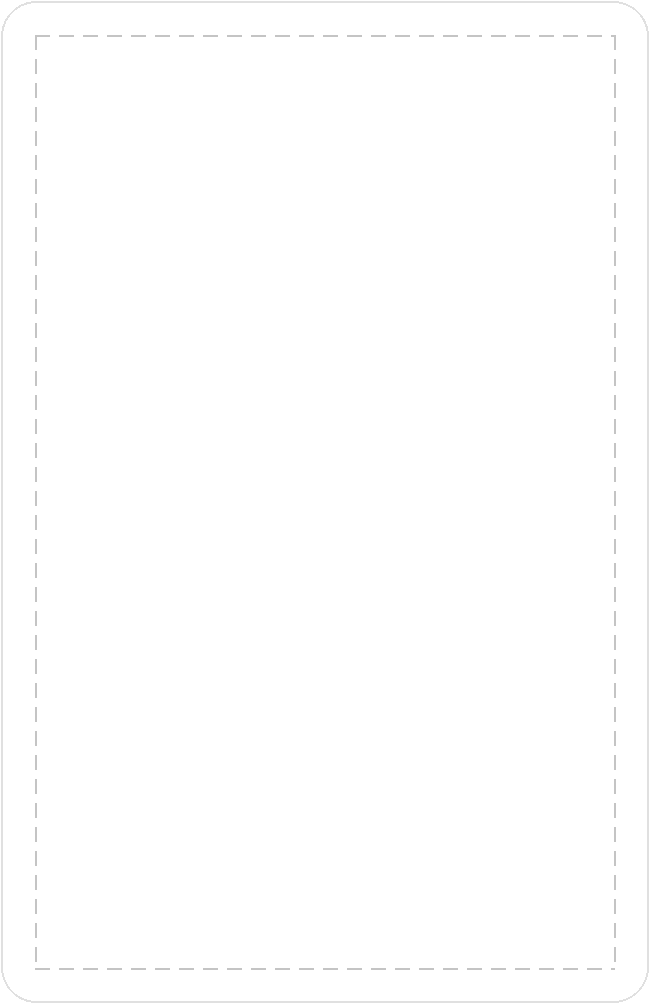
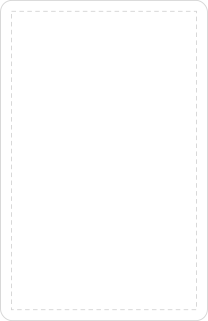
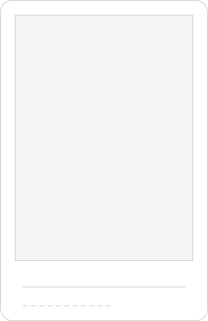
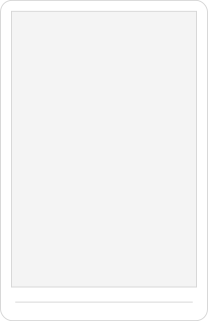
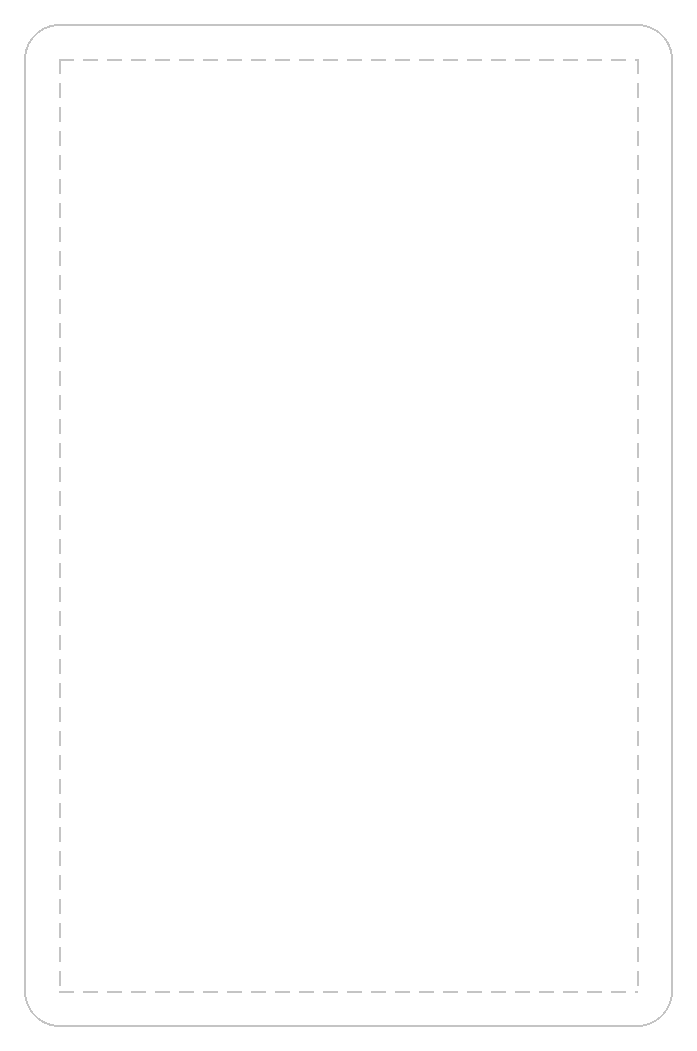
Open these in Canva, Photoshop, Figma, Affinity or Preview. The blank card is the plain 55 × 85 mm canvas; the two frames do the layout work for you — instant-film or bordered.
For a print shop
Bleed on the fronts, artwork on the backs.
A shop will ask for bleed and for trimmed size. The bleed file carries 2 mm of extra artwork on every edge so a millimetre of drift never shows white, and the back file keeps the reverse as considered as the front.
The numbers
Every size you might be asked for.
300 DPI is the print standard and the number to design at: a card this size wants 650 × 1004 pixels, and anything above that is headroom you will never see in the print. Keep faces and text inside the 3 mm safe area — trimming is done by hand or by a shop's guillotine, and it is never exactly perfect.
| Size | mm | px @ 300 DPI | px @ 600 DPI |
|---|---|---|---|
| Card | 55 × 85 | 650 × 1004 | 1299 × 2008 |
| Card + bleed | 59 × 89 | 697 × 1051 | 1394 × 2102 |
| A4 sheet | 210 × 297 | 2480 × 3508 | 4961 × 7016 |
| US Letter | 215.9 × 279.4 | 2550 × 3300 | 5100 × 6600 |
The bleed row is the one a print shop will ask about: 2 mm of artwork beyond the trim, so a millimetre of drift never shows white paper at the card edge. At home you can skip it — the A4 and Letter sheets already leave gaps between cards for trimming.
How to use it
Three steps, one afternoon.
Open the template
Design in Canva, Photoshop, Figma, Affinity or Preview. The PNG opens at exact card size; the SVGs scale without blur. The PDFs are for printing, not editing.
Fill the frame
Cover the whole card, then pull the face and any text inside the dashed safe area. Rounded corners are the first thing a trim eats.
Print at 100%
Choose “Actual size”, never “fit to page”. Measure one frame on plain paper first — it should read 55 × 85 mm before you commit to cardstock.
Filling a frame is the slow way
The card itself is one tap away.
Craftee's Photocard preset is already 55:85. Cut the subject out with on-device AI, drop it on the canvas as a sticker, add text, and export a transparent PNG up to 2048 px — twenty exports free, no watermark.
Printing
Paper and cutting, in one paragraph.
230–300 gsm glossy cardstock is the closest match to an official card; matte is softer and shows fingerprints less. A guillotine or a print shop's trimmer beats scissors every time, and a corner rounder is the last step that makes a flat printed frame read as a real photocard. Standard sleeves are cut a millimetre or two larger than the card, so a card at 55 × 85 mm slides in without bending.
The full guide to printing photocards at home covers paper weights, printer settings, trimming and sleeves in more detail.
Why blank
Blank on purpose, and that is the point.
None of these files contain anyone's photos, and that is deliberate. Official album art, agency logos and scans of official cards belong to the labels, the photographers and the artists — reproducing them is what gets fan projects taken down. A blank frame plus your own photo is safer, and honestly better: a concert shot, a selfie, a teaser you edited yourself says more than a copy of a card everyone already has.
Want to design the whole card rather than fill a frame? The photocard maker guide walks through cutout, canvas and export.
FAQ
Questions, answered.
What size should a photocard template be?
55 × 85 mm — the size of an official photocard, and the size sleeves, toploaders and binder pages are cut for. At 300 DPI that is 650 × 1004 pixels; at 600 DPI it is 1299 × 2008. Every file on this page is built at that size, so nothing needs cropping later.
Are these templates free, and can I sell what I make with them?
The files are free, with no signup. What you put inside them is your call: designs built from your own photos are yours. Official album artwork, agency logos, and scans of official cards are not — reproducing those can infringe the artists’ and labels’ rights, and that is true whether you trade the cards or sell them.
Is there a template for the back of the card?
Yes — a single card back at 650 × 1004 with guides for a name line, and an A4 sheet of nine backs on the same grid as the fronts. Print fronts on one side, feed the sheet back in for the backs, and the cards line up when you trim.
What is a bleed, and do I need one?
Bleed is extra artwork printed beyond the trim line — 2 mm on the files here. A trimmer or a shop’s guillotine is never perfect, so without bleed a hairline of white paper can show at the card edge. At home you do not need it; for a print shop, hand over the bleed file and it will trim the card back to 55 × 85 mm.
Why is the template blank instead of pre-designed?
Because a pre-designed template means someone else’s artwork, and that is exactly what takes fan projects down. A blank frame at the right size plus your own photo is safer and more personal — and it still gives you the one thing a random image does not: a card that comes out exactly 55 × 85 mm when printed.
Can I use these in Canva, Photoshop, Figma or Affinity?
Yes. Upload the PNG at 650 × 1004 and design on top of it, or open the SVG and scale it freely — the vector keeps the card edges sharp at any DPI. The PDFs are for printing rather than designing: they hold no editable layers, only correctly placed frames and crop marks.
Why nine cards on A4 but only six on US Letter?
A4 is 210 × 297 mm, which fits three rows of 85 mm cards. US Letter is 8.5 × 11 in (216 × 279 mm) — 18 mm shorter, so only two rows fit without running off the page. Both sheets use the same 55 × 85 mm frame.
How do I make sure the print comes out the right size?
Turn off anything that says “fit to page”, “scale to fit” or “shrink oversized pages”, and set scaling to 100% or “Actual size”. Print one test page on plain paper and measure a frame with a ruler: it should read 55 × 85 mm. Once it does, print on cardstock.
More from Twelvefold
Tools that pair well with this one.
 CrafteeRound corners & AI cutout for iPhone
 LatentPrivate AI image generator
 TalkaAI English speaking coach
 OverLensOn-device screen translator
 QRacadeAnimated QR code generator
 SoarlyticsPublic X (Twitter) stats
 NYC HustleRetro pixel trading game
 Da Siu YanHong Kong villain-hitting ritual
 WHEEFree browser mini games